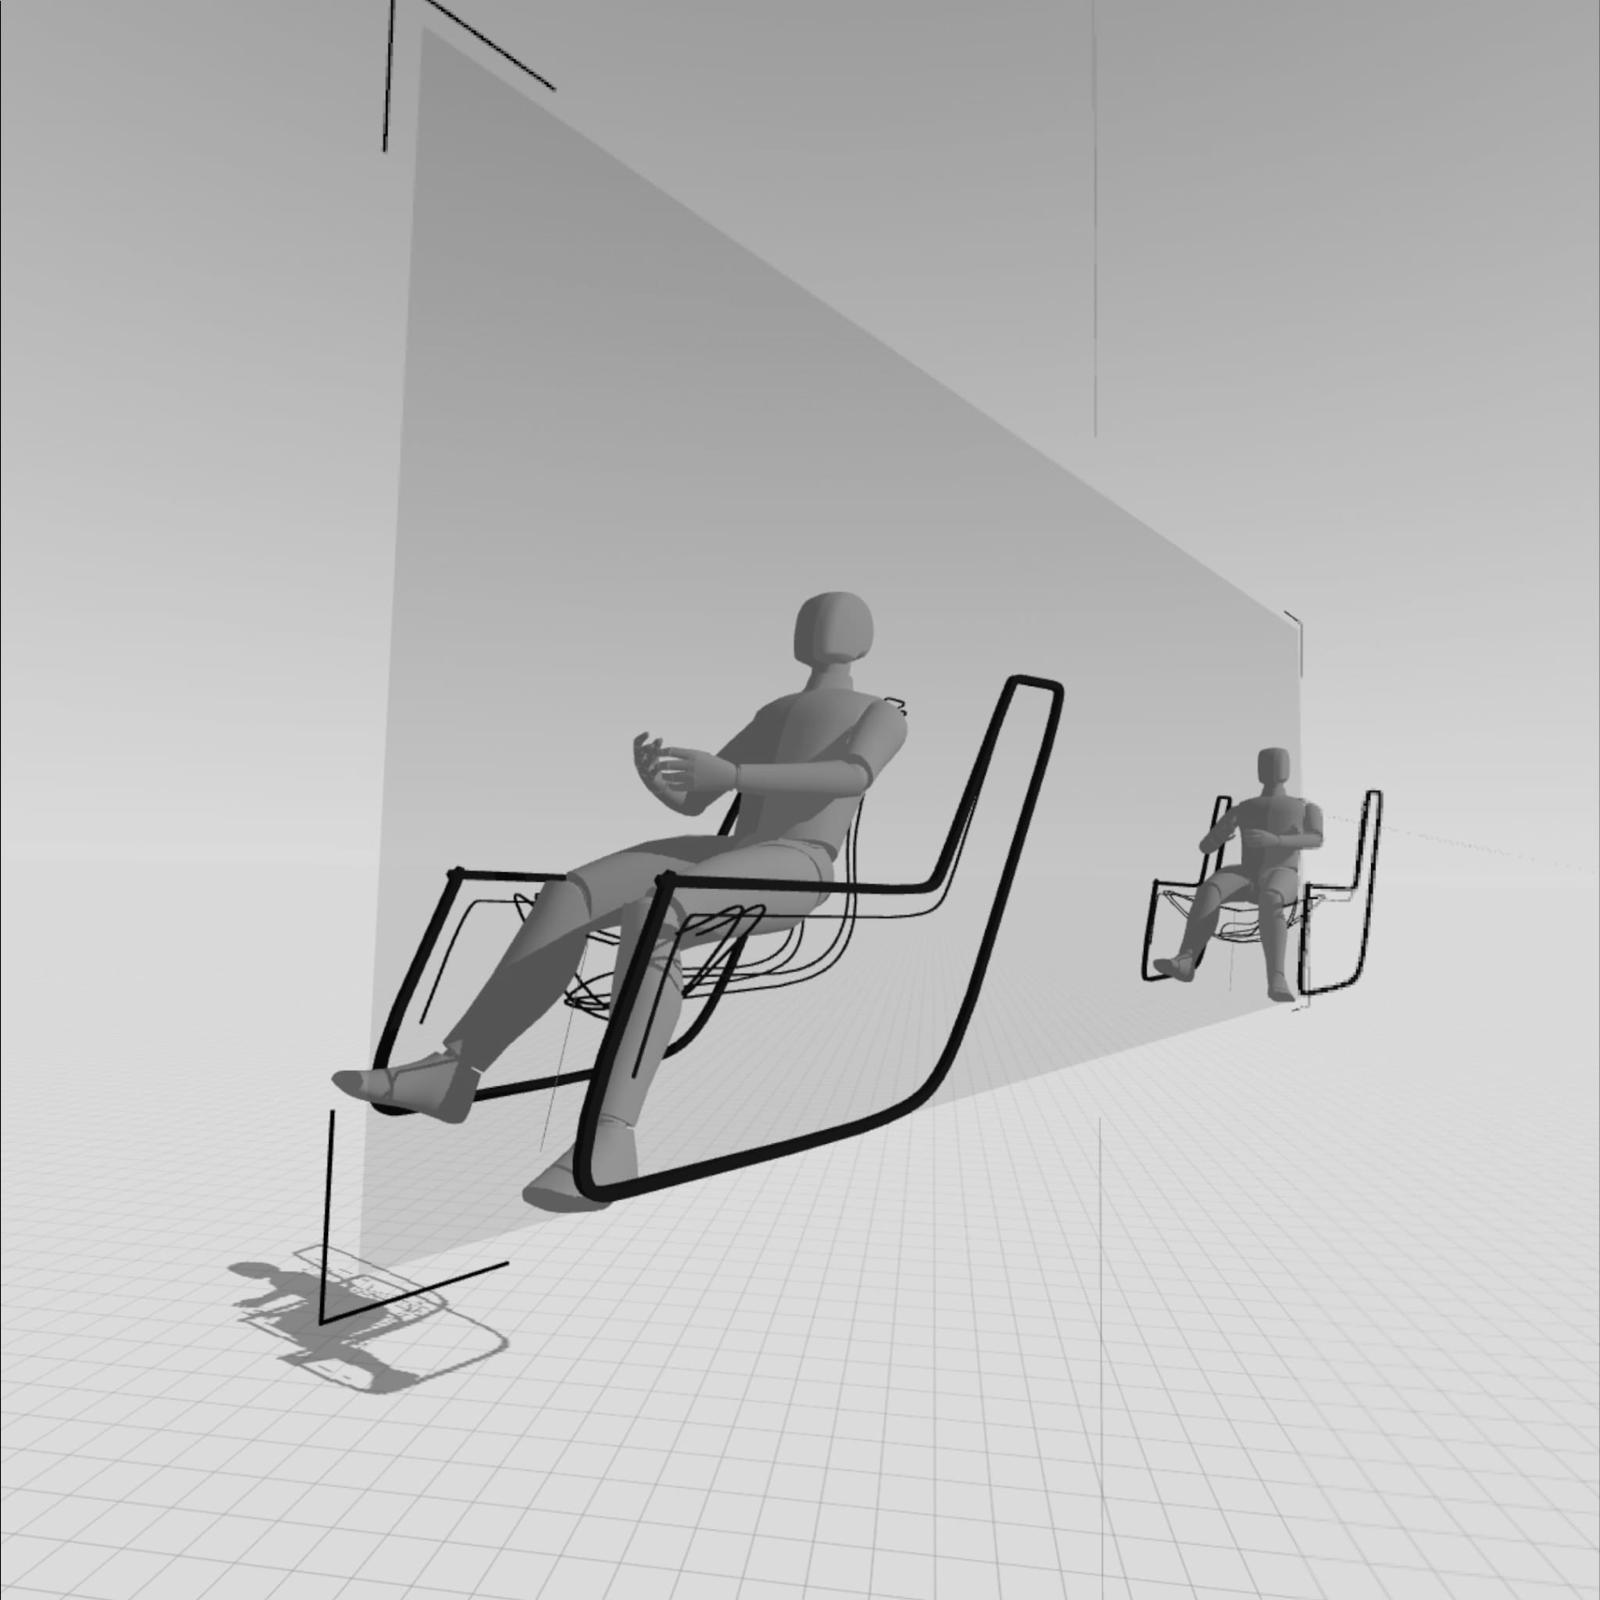
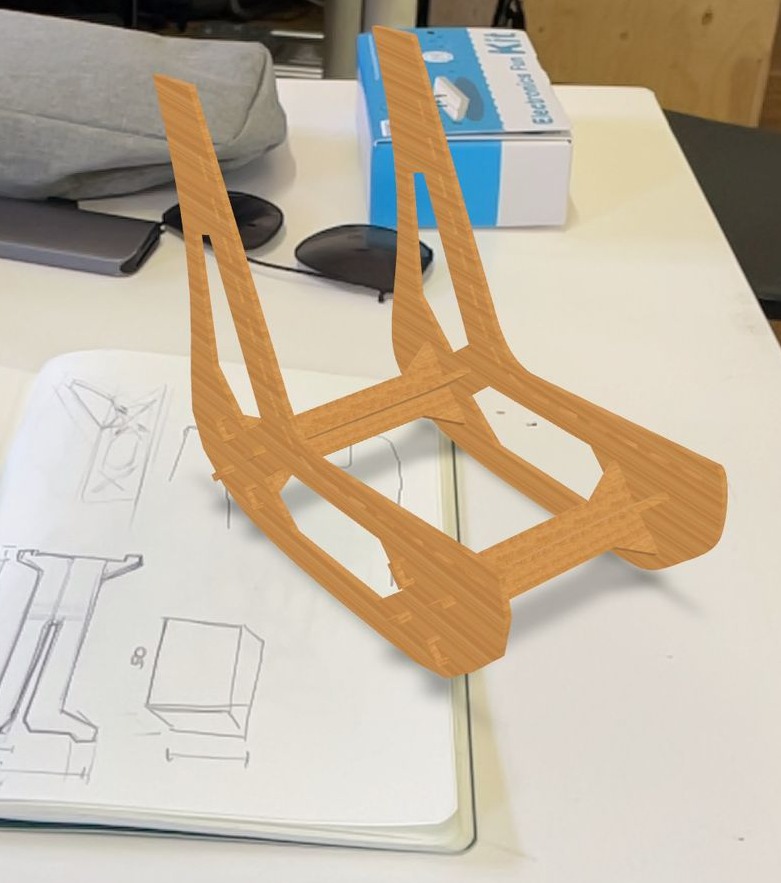
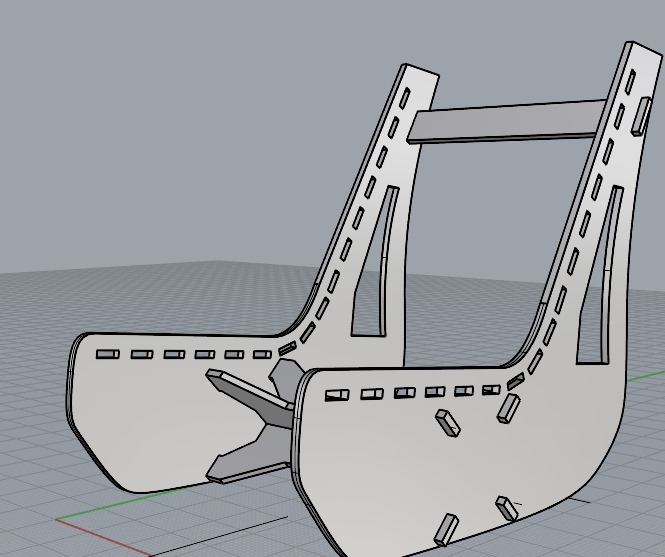
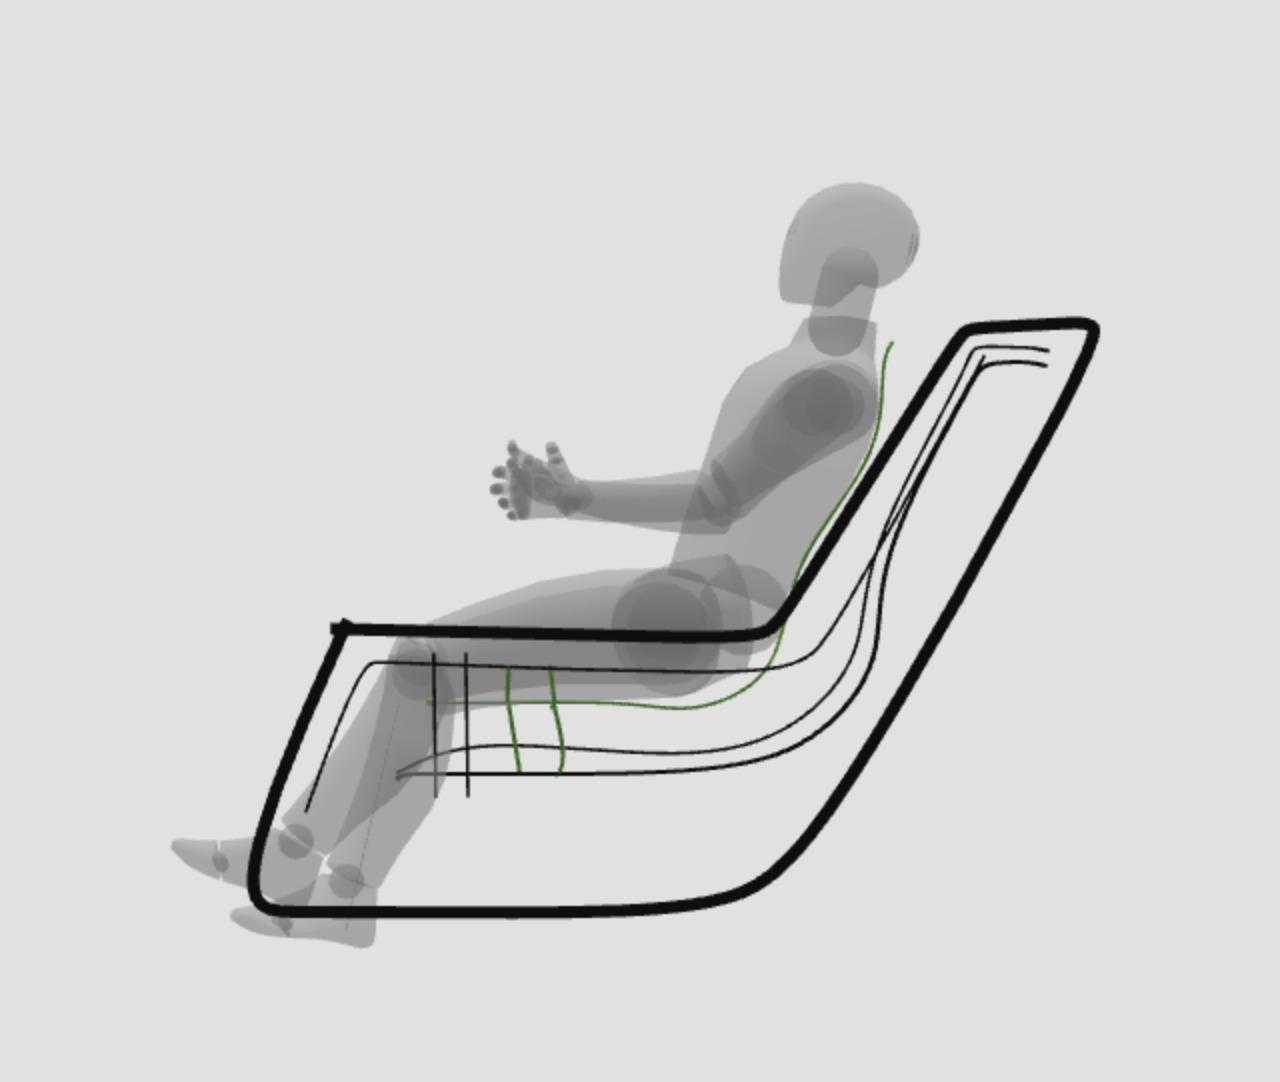
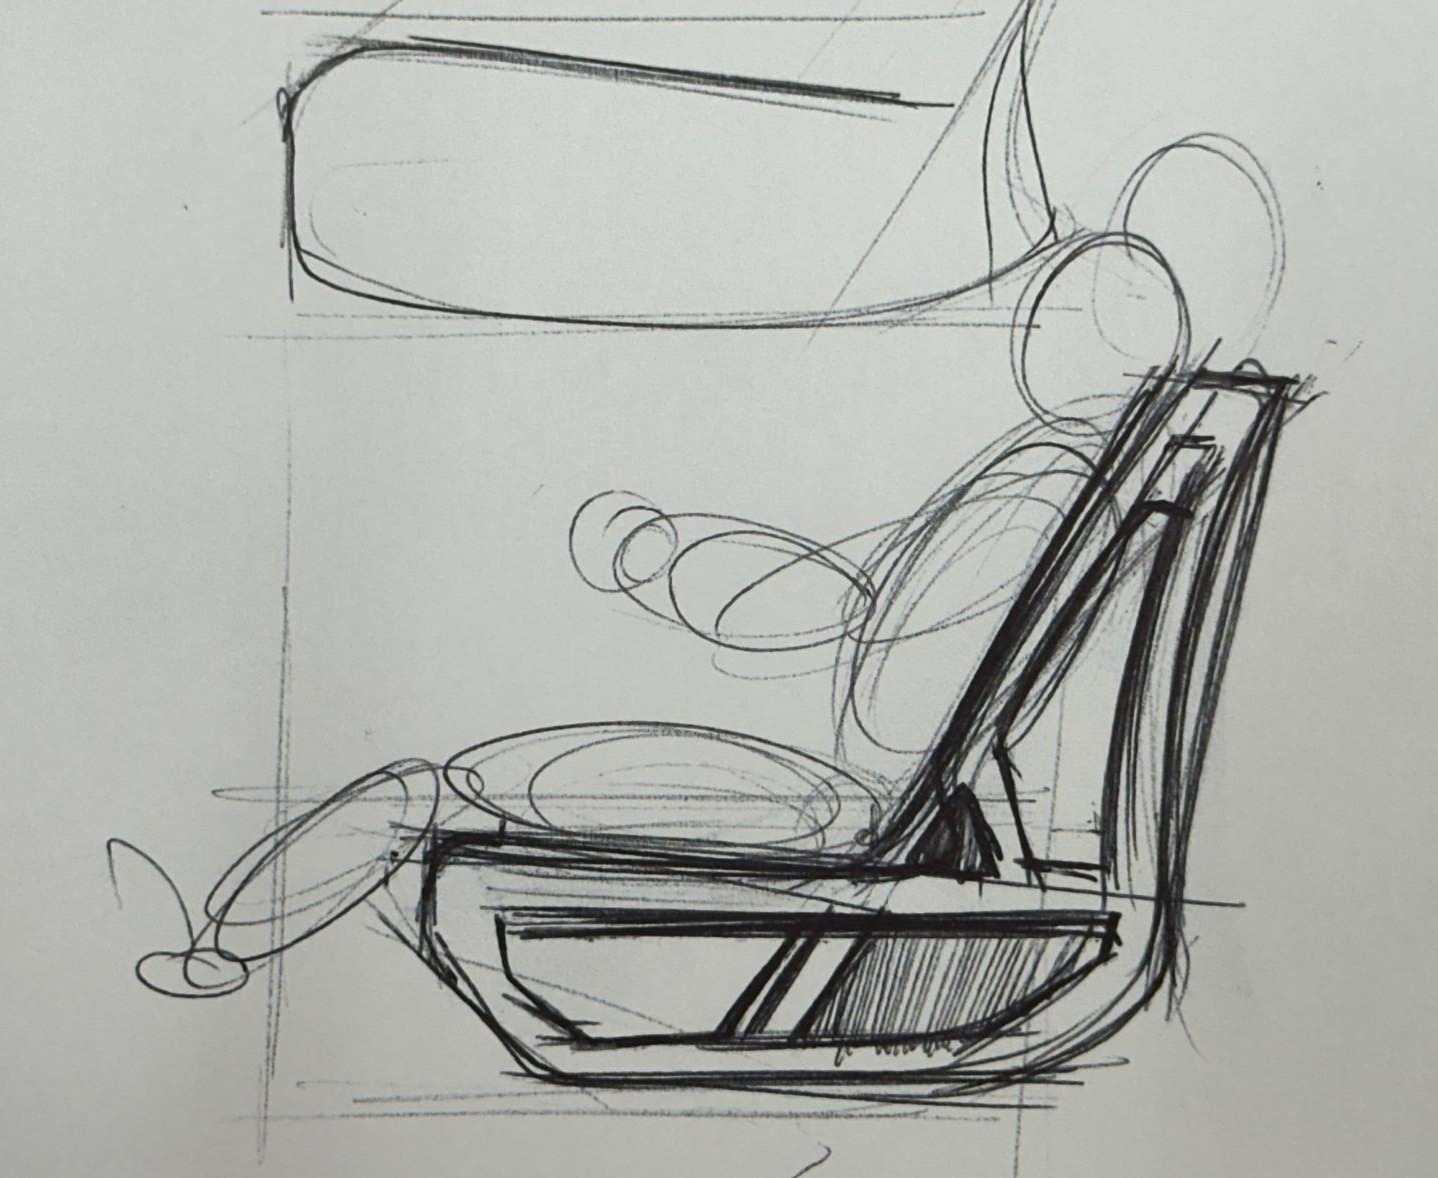
Digital Prototyping 03

Cnc'ing a chair for the MDEF classroom together with Jorge

This digital prototyping challenge was focussed on how can use the digital fabrication technique of CNC milling to create a piece of furniture for the classroom. Together with Jorge we decided we wanted to create a relaxing chair to use in the class during breaks.

Mobirise Website Builder

First Sketches

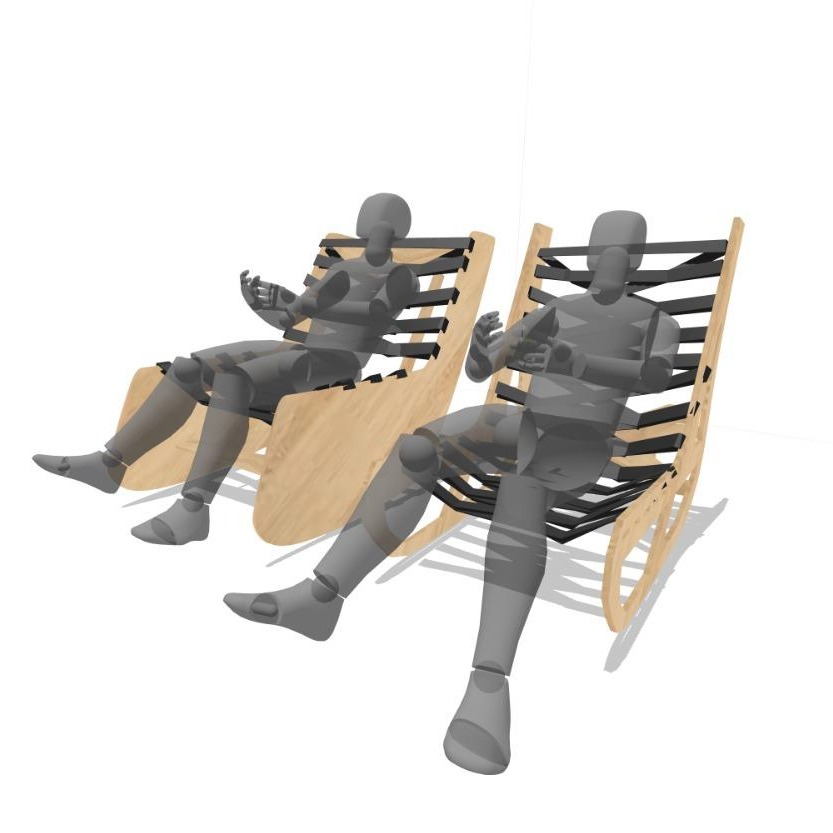
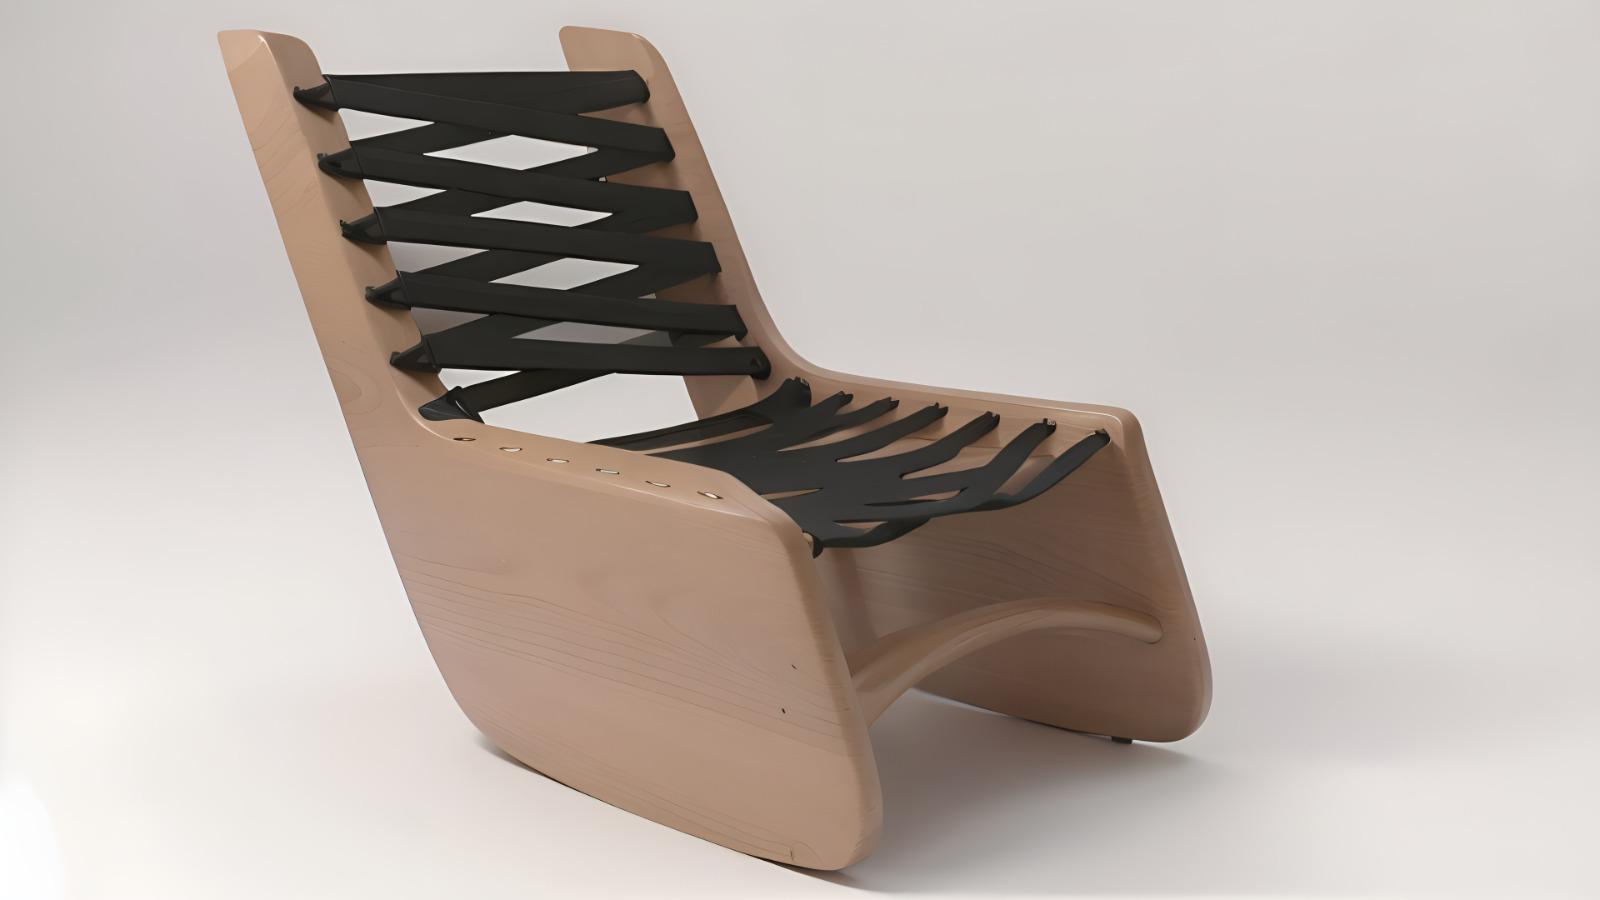
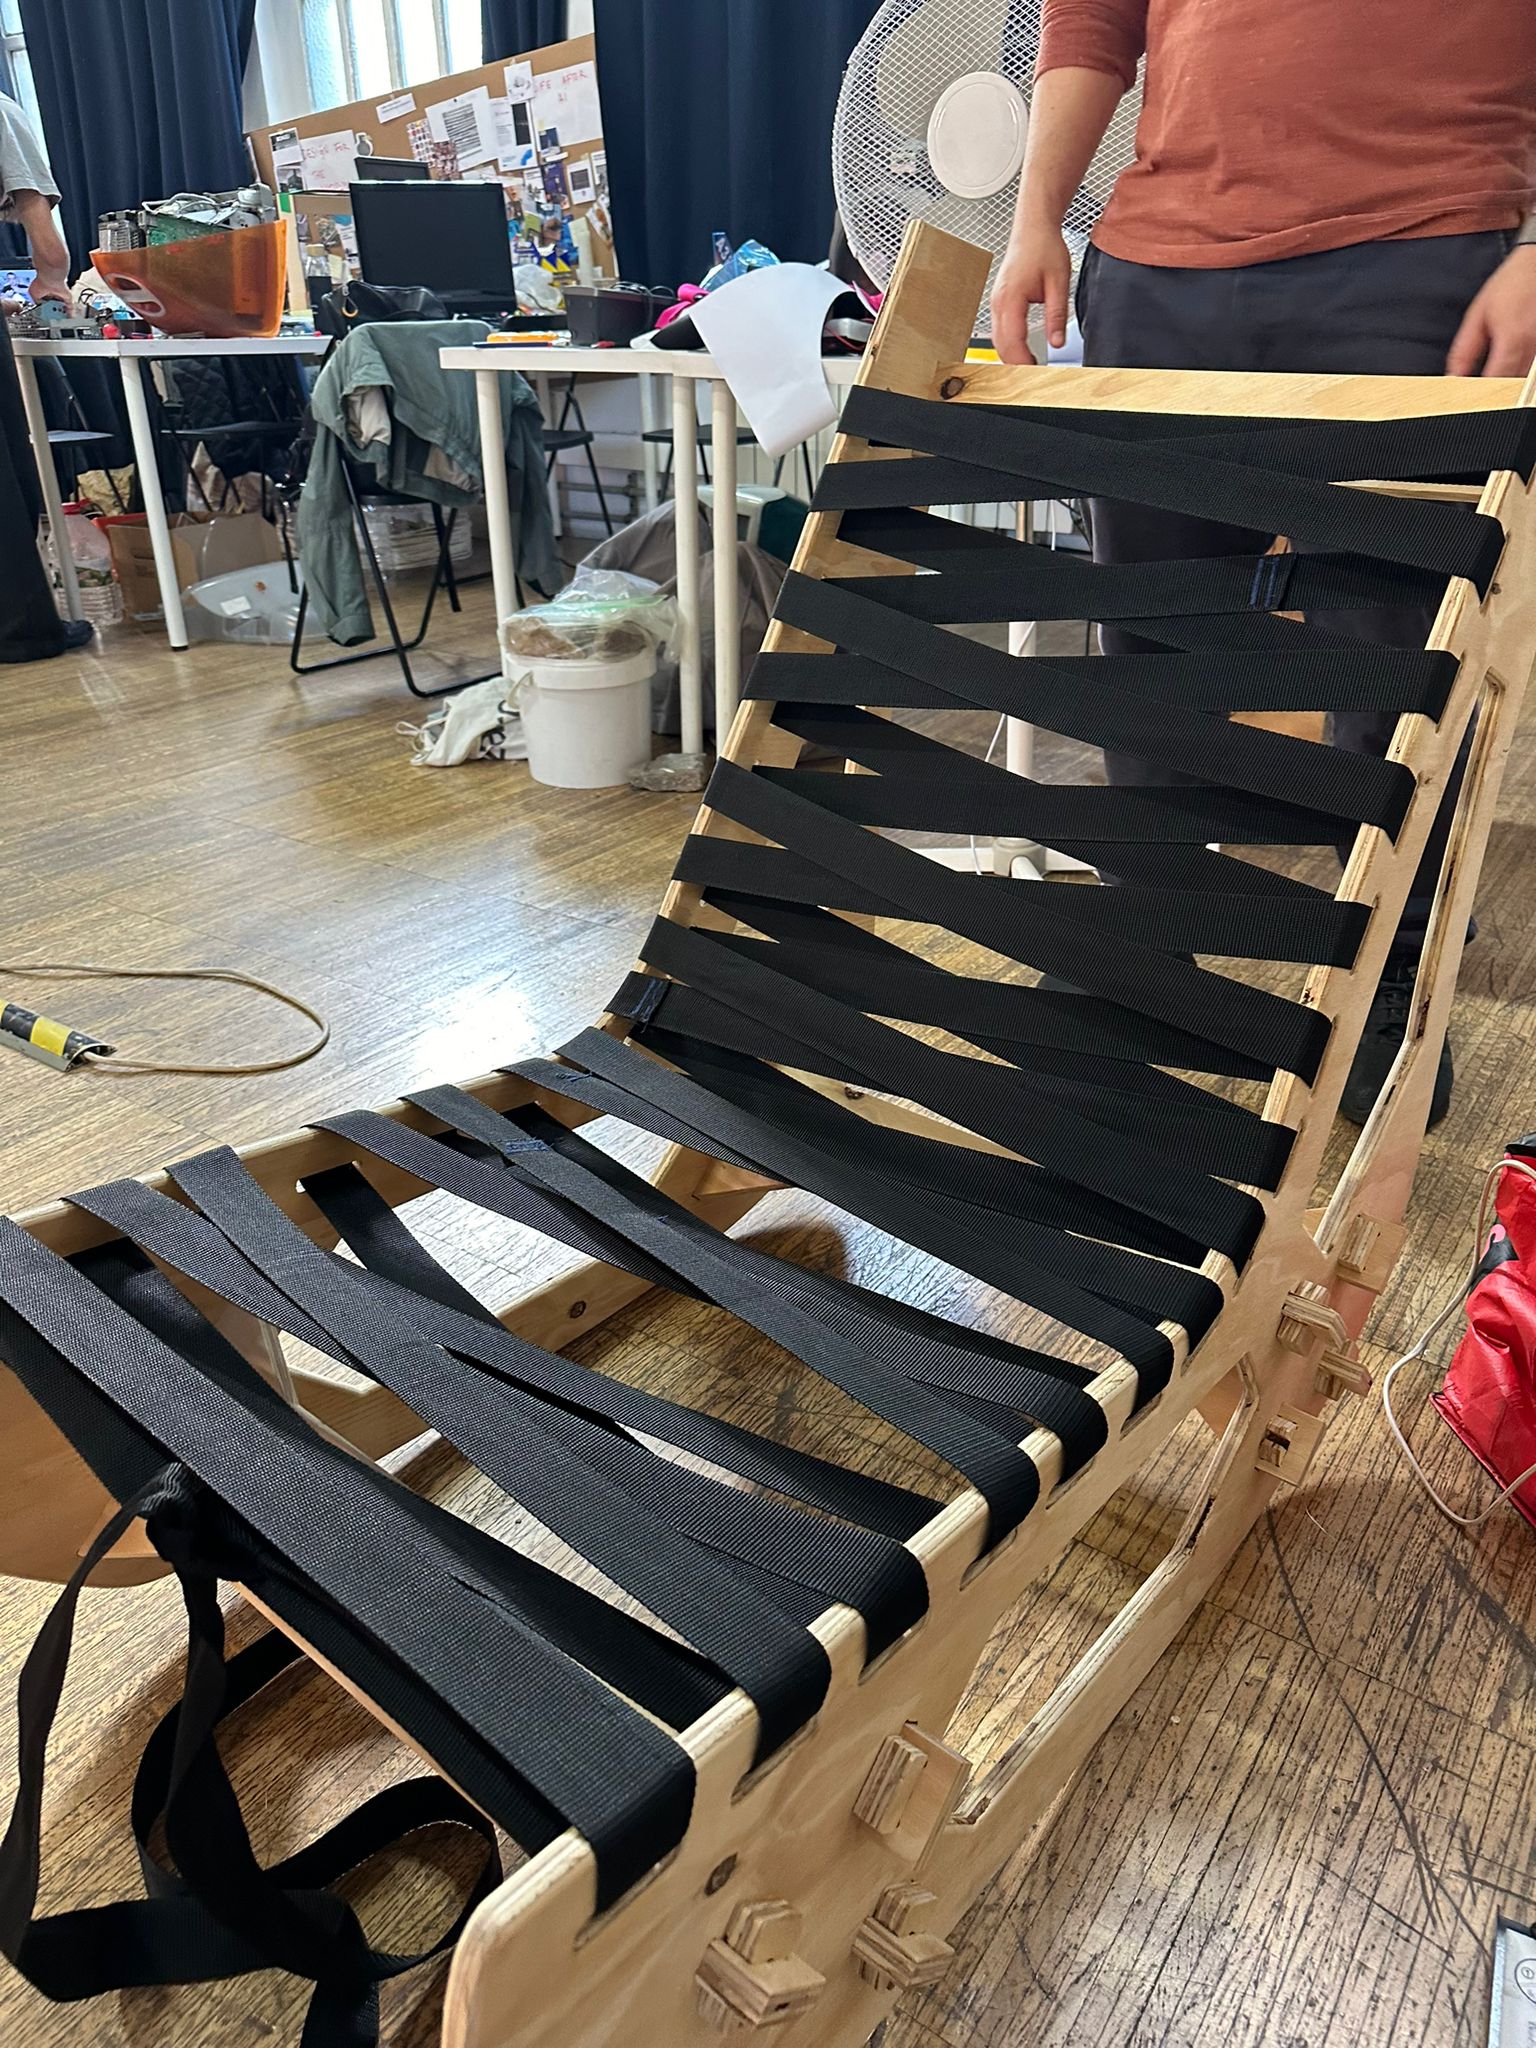
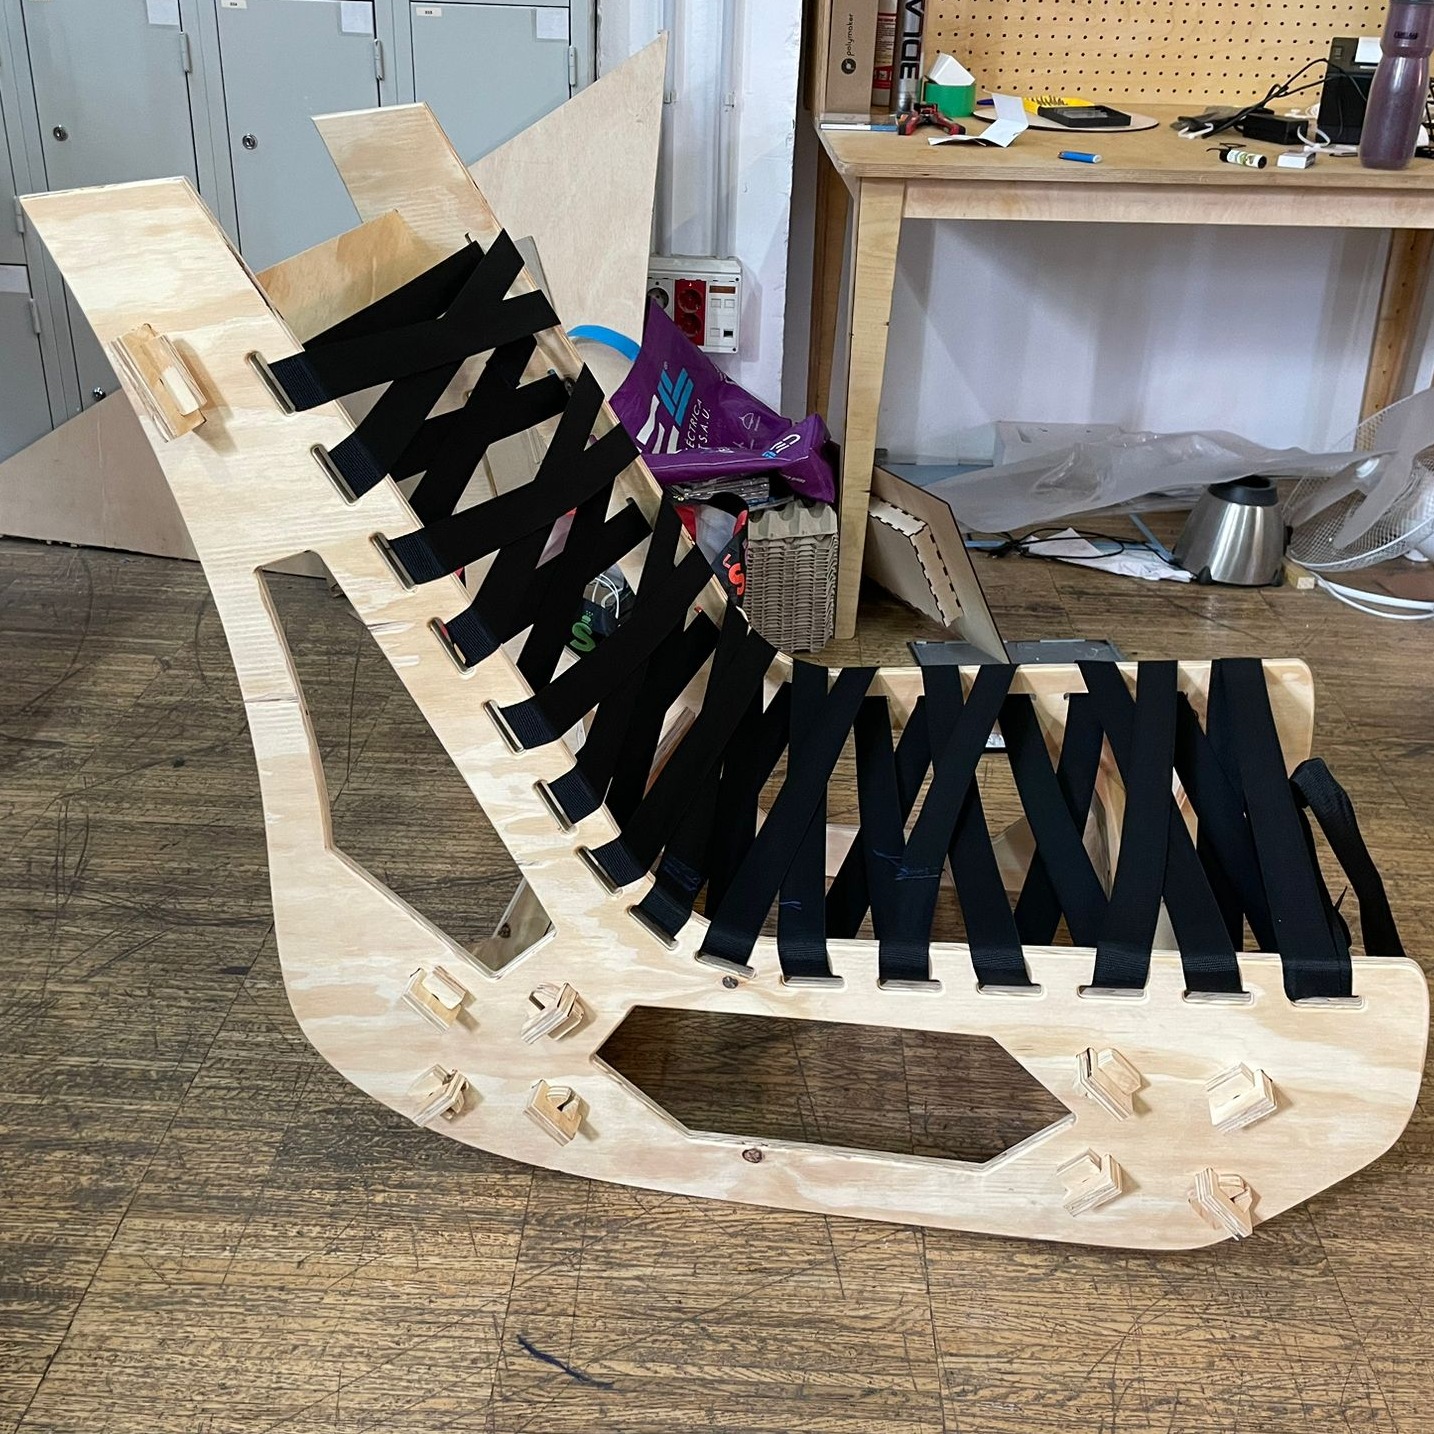
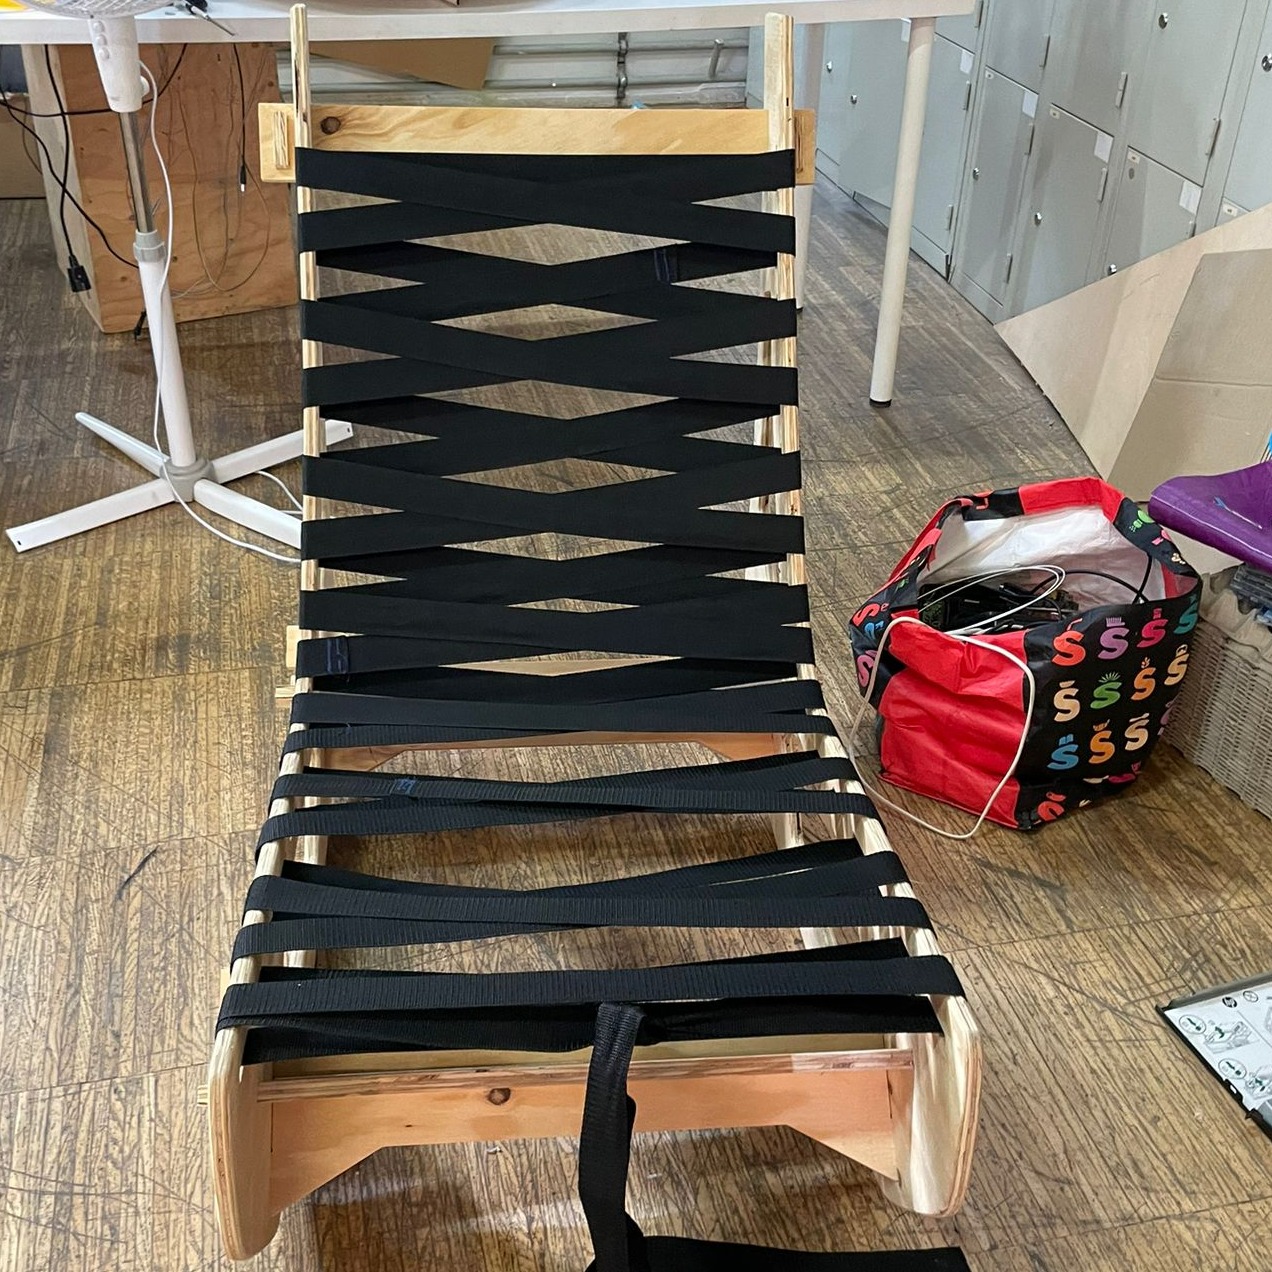
Once we decided we wanted to design a chair we started looking online for some inspiration of rocking chairs and low chairs. We then went through an iterative process of sketching on paper and in gravity sketch. We ended up needing to consider various element: Amount of wood we have, CNC requirements, time constraints and spacing for supports. Due to this the design has altered slightly from the original idea sketch.

Preparing For CNC'ing

Now that we had created a model that we were confident was possible, we got it checked by Adai before preparing the files for the CNC machine. Things we did included:

- Mickey Mousing the Holes where a brace would be attached
- Double checking that there was a .1 mm tolerance on each side of brace holes
- Creating the connecting joints to ensure braces stayed in place
- Defining depth and layers to remove for CNC machine
- Defining what was what in terms of outer outline, pockets, holes etc.

CNC Process

This process took a while but it was fun to see come together. In the end the actual cnc'ing of the pieces took about 2 hours. We then came back and sanded all the pieces before getting to connect them all together. The final step for us was to get the ropes and string them through. 

Final Product

The final product all put together looked super cool. We had a bit of a struggle with the actual connecting of the ends of the rope together but in the end we found out that by sewing in the latches it worked perfectly.
Mobirise Website Builder

Reflecting on Digital Prototyping 3

This was the digital prototyping class I was most excited about. While it didn't relate to my thesis project it did relate a lot to my background as an industrial design engineer, and I loved that we got the creative freedom to do what we wanted within the brief. Jorge and I had a lot of fun iterating through the actual design of the chair and trying to understand how we could make our sketches a reality using CNC.

In the end I feel we pushed the limits of what we had time to do and took our time to think out how certain elements needed to be altered to be CNC ready. I think the main struggle for us was trying to create something that seemed light and modern, while ensuring structural integrity. Also the joints and how they connected to the side pieces was something that required some thought. Adai helped with this by explaining different connectors. Though we had a bit of error that while we created the connectors we thought they would have more flexibility then in reality. We could quickly solve this by sanding them down so that they were the right fit.

In the future I would  recommend doing a test section for the connectors and joints before CNC'ing all the parts. This will minimize the margin of error that we had. All in all this was a really interesting exercise that combined physical design with digital fabrication, resulting in a cool piece of furniture for our class.

© Copyright 2023 Carlotta Hylkema - All Rights Reserved

Offline Website Builder